Step 1: Create a newsletter
- Open the menu and click on Newsletter.
- Create a new newsletter, by either choosing a template or starting from scratch.
- Hover over the header image in the editor window on the left and click on Choose.
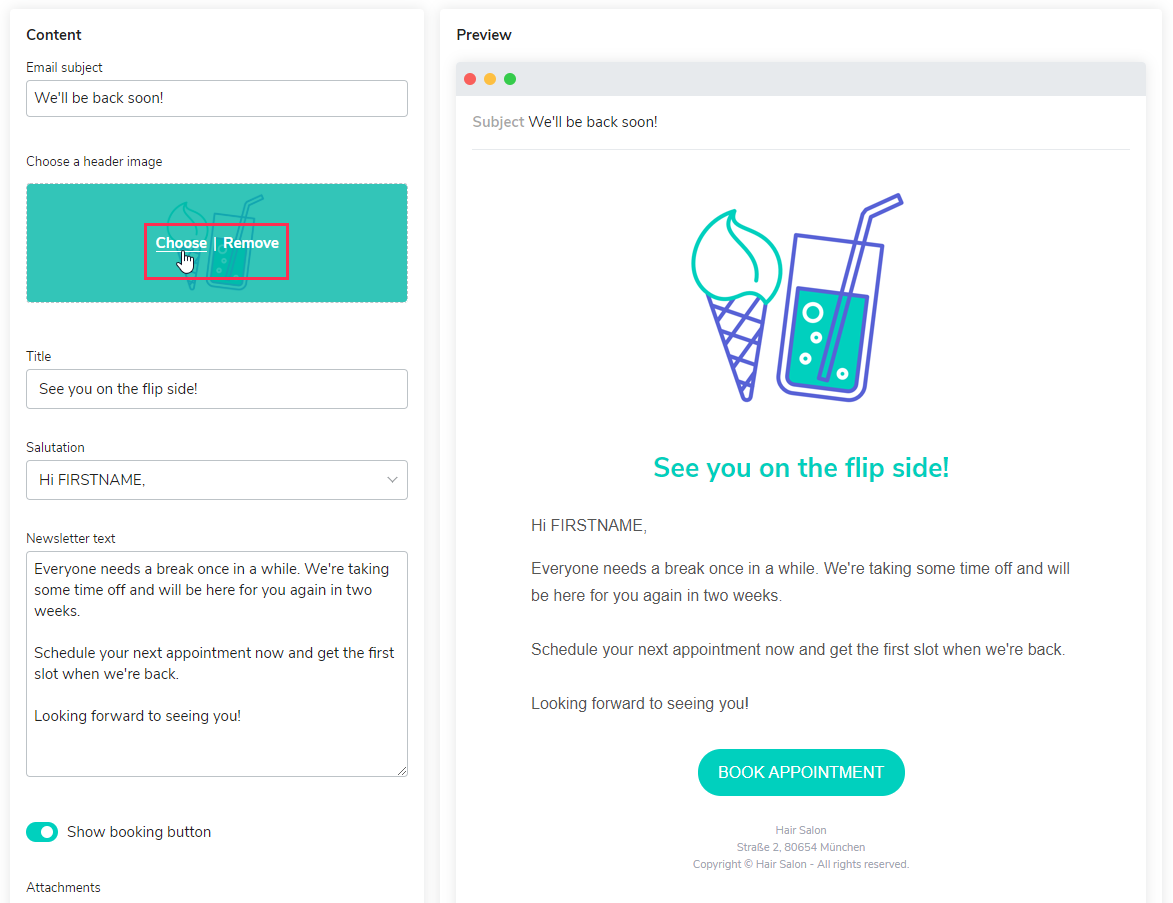
- A new window opens. You have the following options:
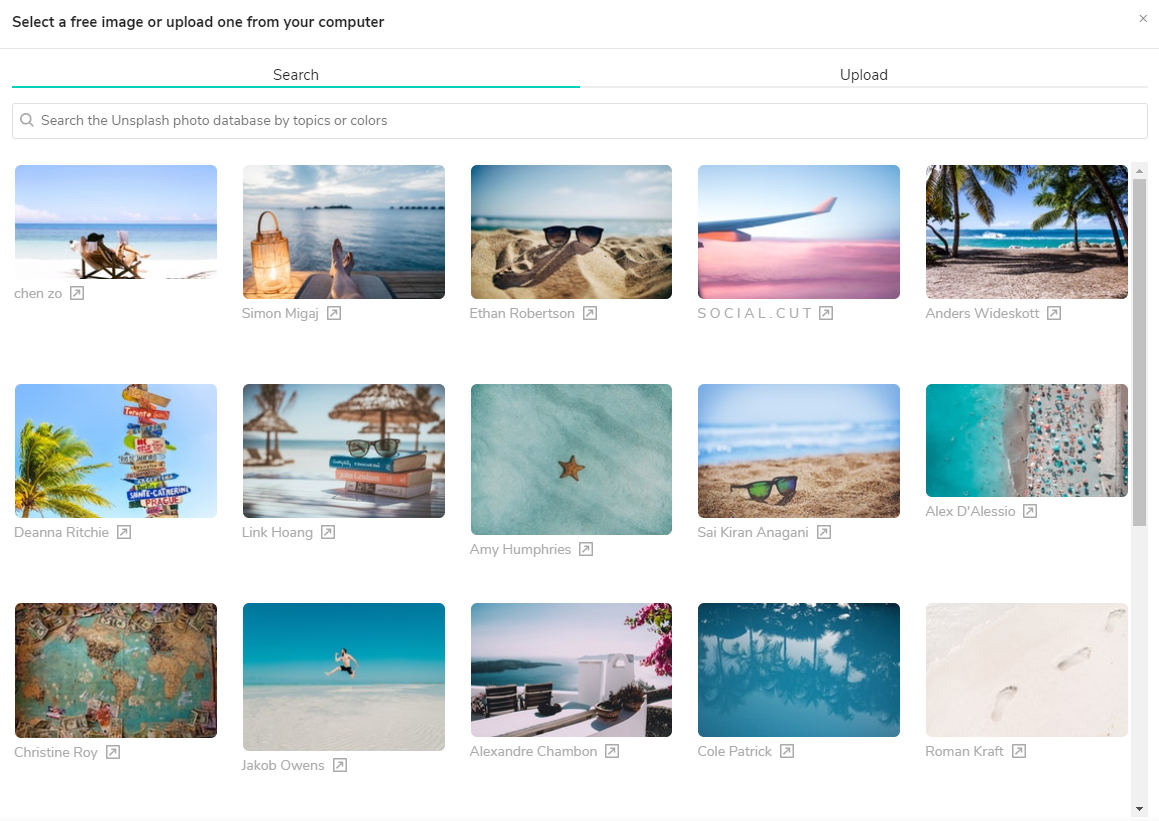
- Choose a free image from the Unsplash image database.
- Click the Upload tab to select an image from your computer.
Step 2: Choosing an image from the Unsplash database
Follow these steps if you want to use an image from the Unsplash database. There are two ways to search the database:
Option 1: Scroll down the list of suggested images and select one.
Tip: If you create a newsletter based on a template, the displayed images already match the theme of your email.
Option 2: Enter a search term in the search bar. Here are some suggestions:
- Colors: pink, purple, white, beige, blue, turquoise, brown, red, green, blue, yellow
- General themes: celebration, flowers, blossom, vacation, beach, thank you
- Hair salon: hairdresser, haircut, hairstyle
- Beauty and Nails: makeup, manicure, meditation
Once you've selected an image, a preview will appear with a frame that you can adjust and move around to specify the section of the image you want to use.
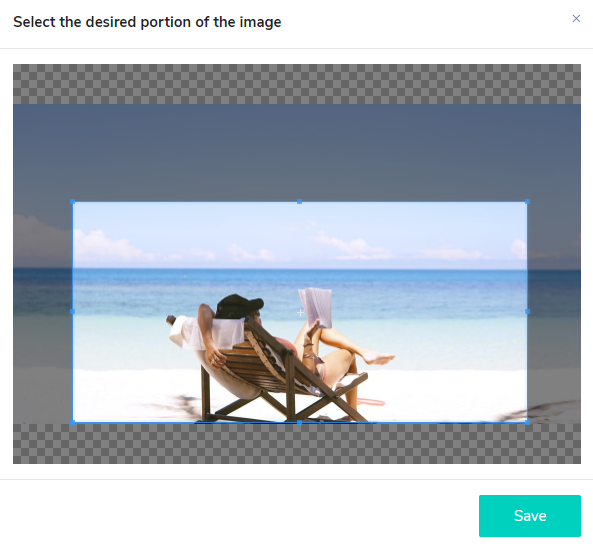
When you're done, click Save to insert your image in the newsletter. Note that due to the image size it may take a a few seconds for the image to appear in the newsletter preview.
About the Unsplash image database
Unsplash provides access to over 500,000 professional photos you can insert directly into your newsletter. All images are royalty-free and may be used for commercial purposes without image credits.
For more information about the Unsplash license, please visit https://unsplash.com/license.