Procedure for acquiring a Technical Security System (TSS) and activating the signature
On March 31, 2021, the non-objection provision for the Cash Register Security Ordinance, which is already in effect, will expire. This means that your electronic cash register must have a Technical Security System ("TSS") to be fiscally compliant. The TSS will sign, log and store all transactions in a secure location.
We have integrated the Fiskaly cloud solution. Follow our instructions to complete the process in just a few clicks.
1. Fill out all your company data
2. Buy a TSS license
3. Connect your TSS with your iPad
4. Activate the signature service to create invoices with signature
The following requirements must be met before you can set up your TSS:
- You must have a current contract. You must no longer be in the test phase and you must have activated your account.
- Open the POS Manager and go to Integrations. If the tab KassenSichV is not displayed in the POS Manager please send us an email to pos@shore.com. Our support team will then add the Subscription fiscalization_DE to your account and contact you as soon as you can start the setup.
1. Verify company data
Open the POS Manager.
Go to Settings > Store > My Location. Make sure that your address data is complete.
2. Buy a TSS license
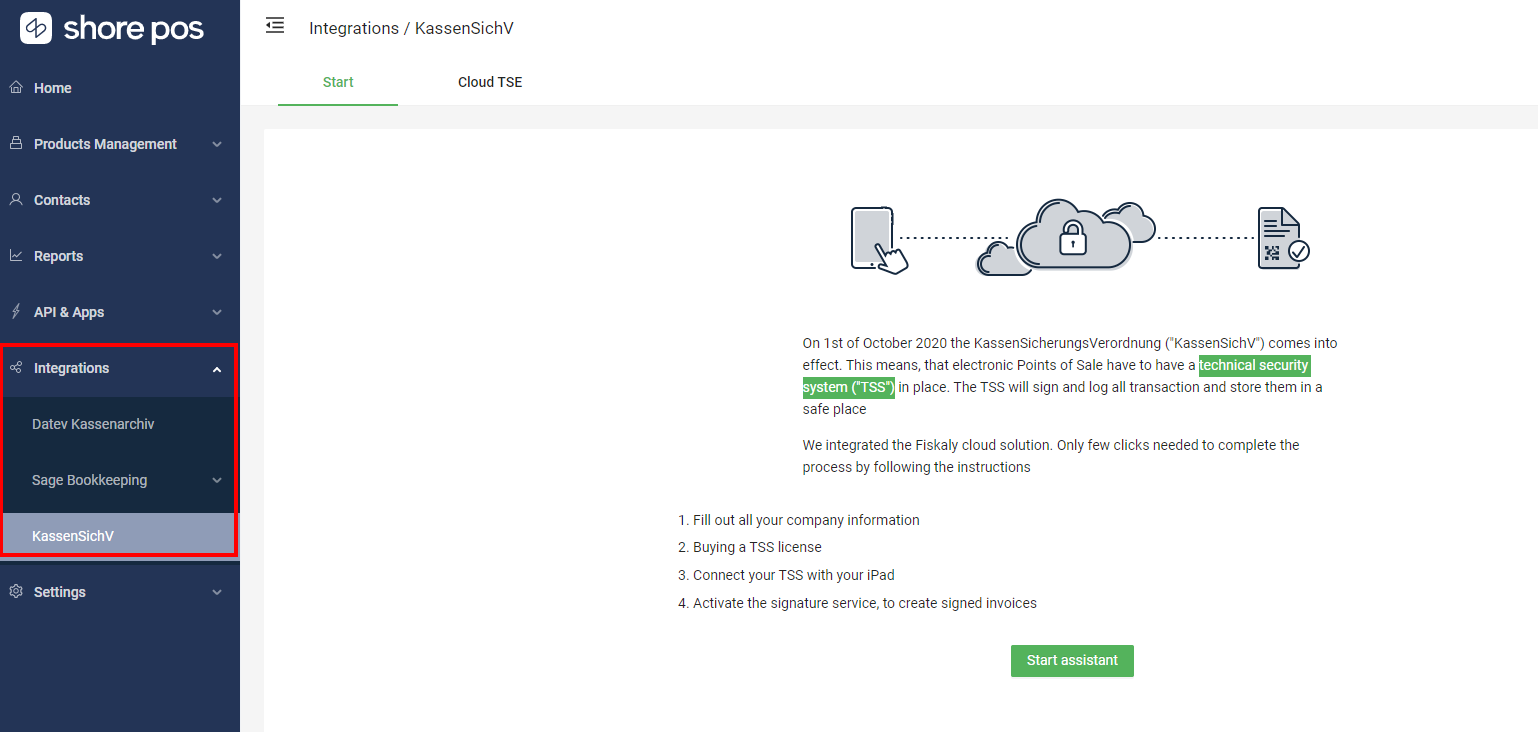
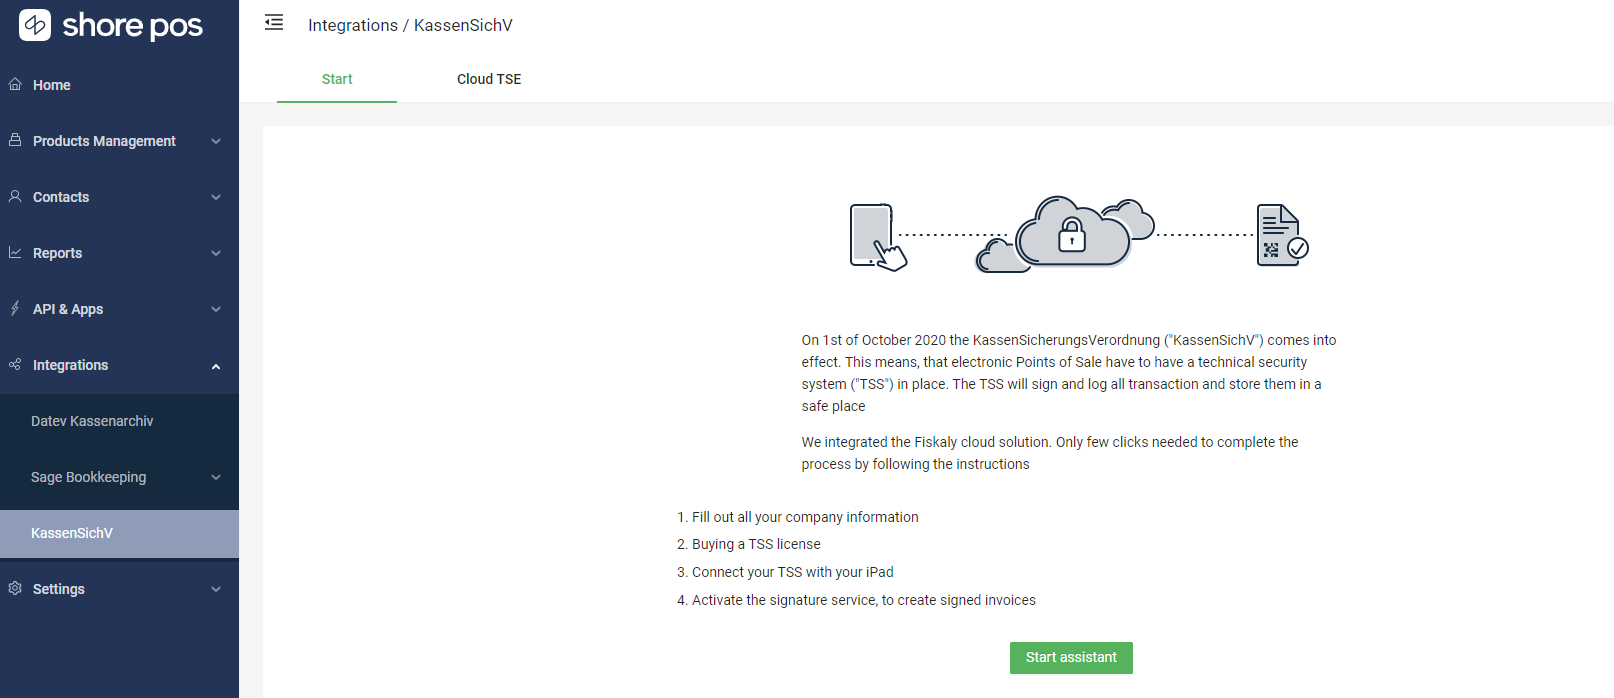
In POS Manager , go to Integrations > KassenSichV .
Click on the Start assistant button to complete the activation process and make your first TSS purchase in just a few steps.
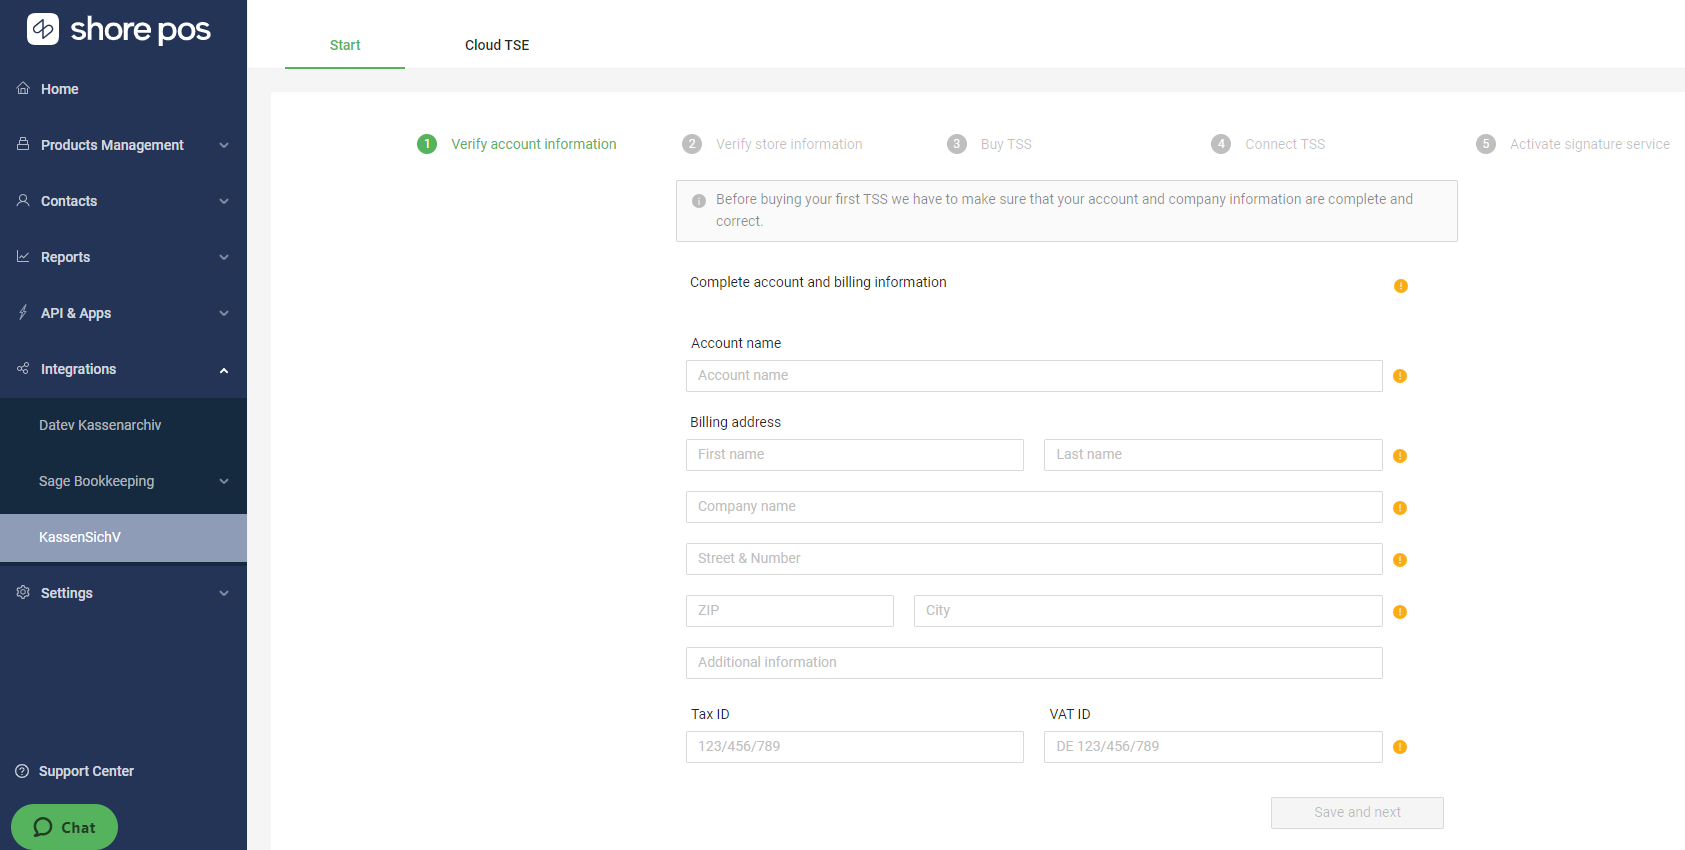
Verify account information
Before purchasing your first TSS, we need to make sure that your account and company information is complete and correct. You will therefore be asked to verify your account and billing information first.
Verify store information
In the second step you have to check that your store information and complete it if necessary. Only then you can proceed to the next step.

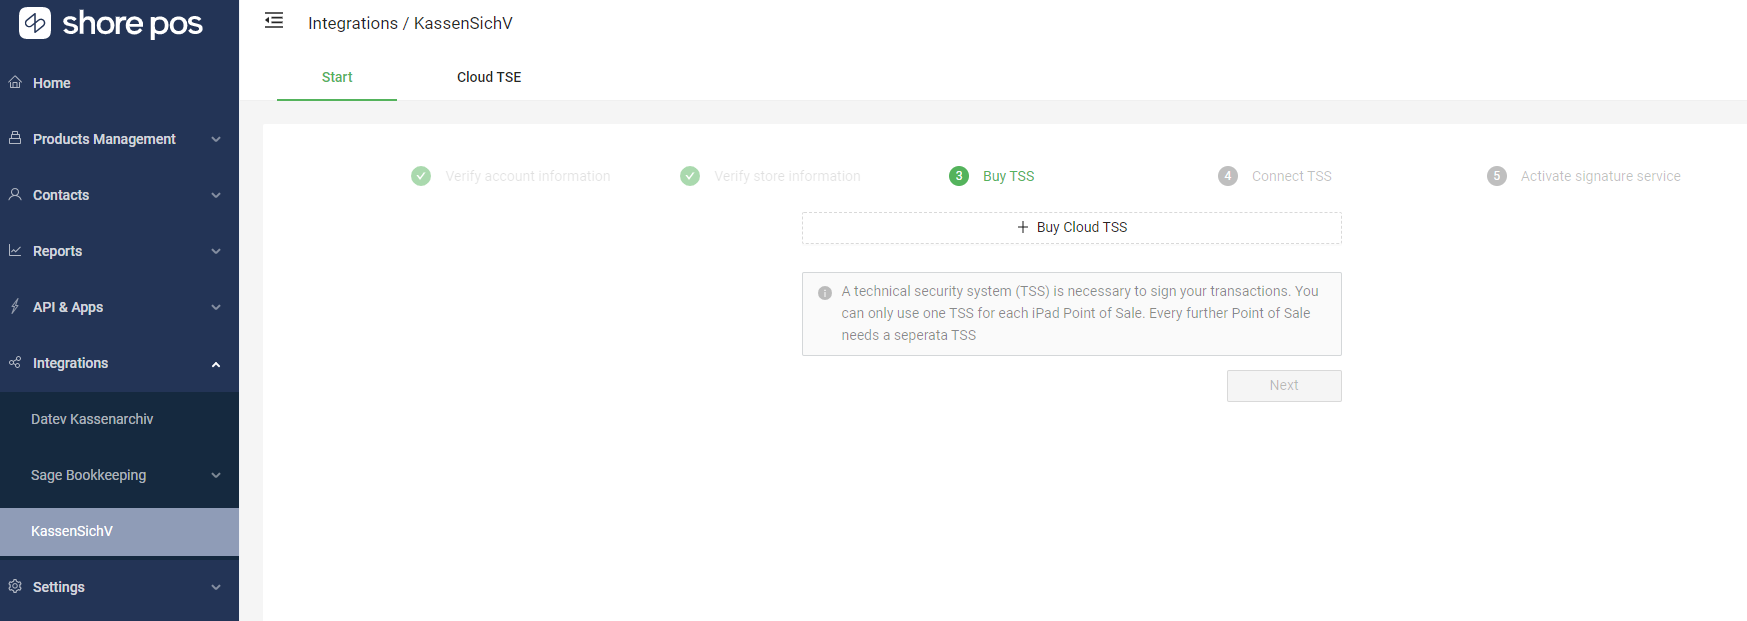
Buy TSS
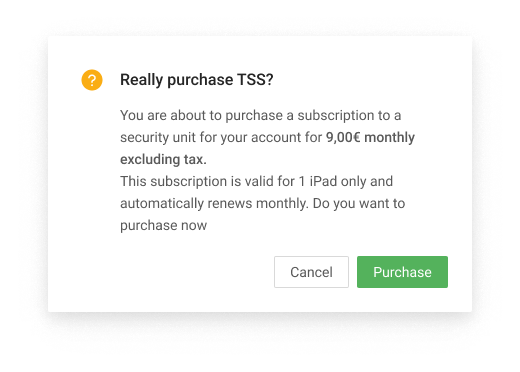
Now you can buy your first TSSE. Click on + Buy Cloud TSS. You will be informed about the price and asked to confirm your entry.
For all customers who have previously requested the TSS pre-order form in POS Manager - 1 TSS has already been added to the account.
Note: Only one TSS can be connected to an iPad at a time. If you use more than one iPad for sale, you have to purchase a separate TSE for each device.
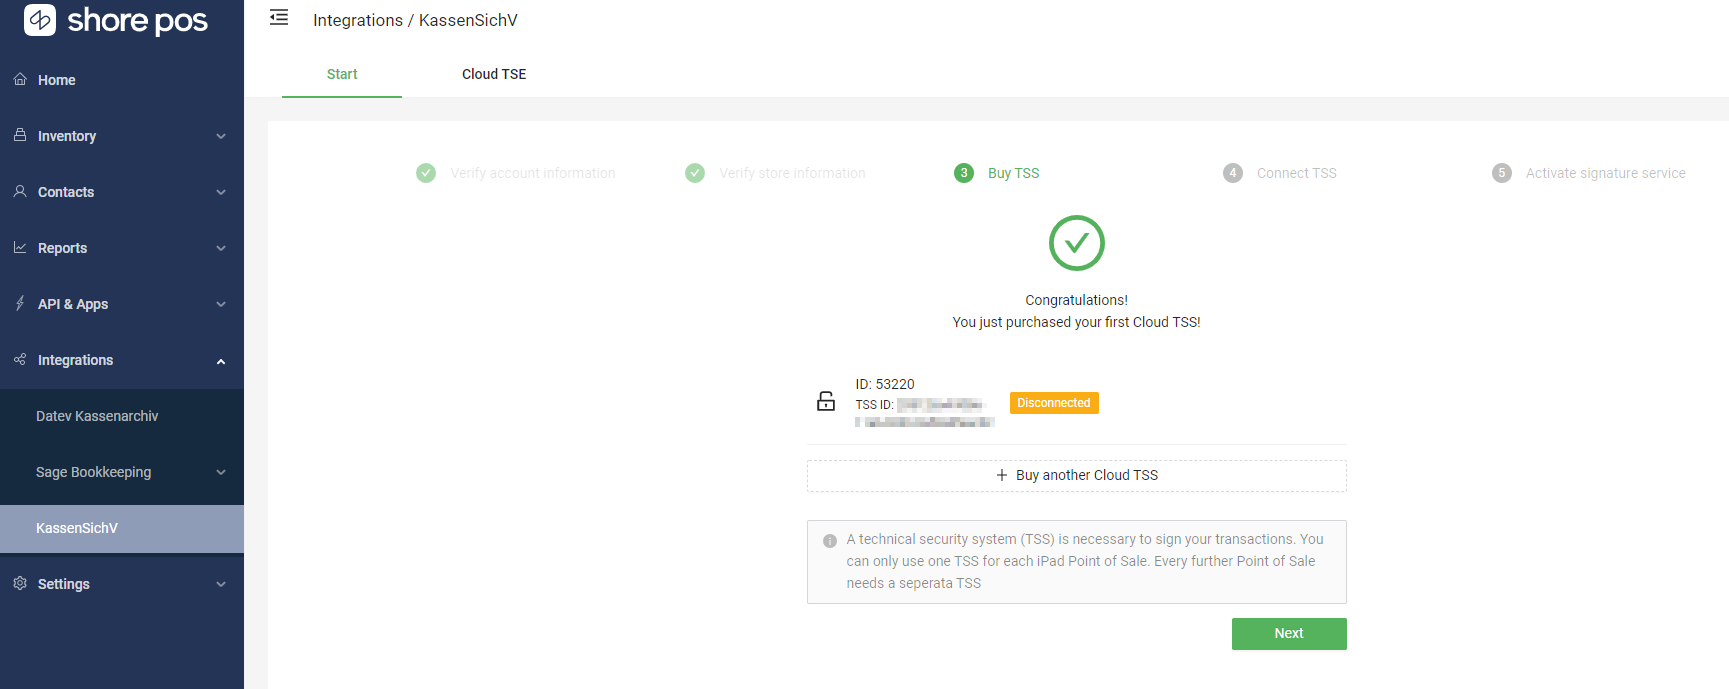
After the purchase, the page will load briefly and you will see the number of purchased TSS as a list. You can now proceed to the next step.
3. Connect your TSS with your iPad

To connect your TSS to your iPad, open the Shore POS App and follow these steps.
Note: You can also do this step later.
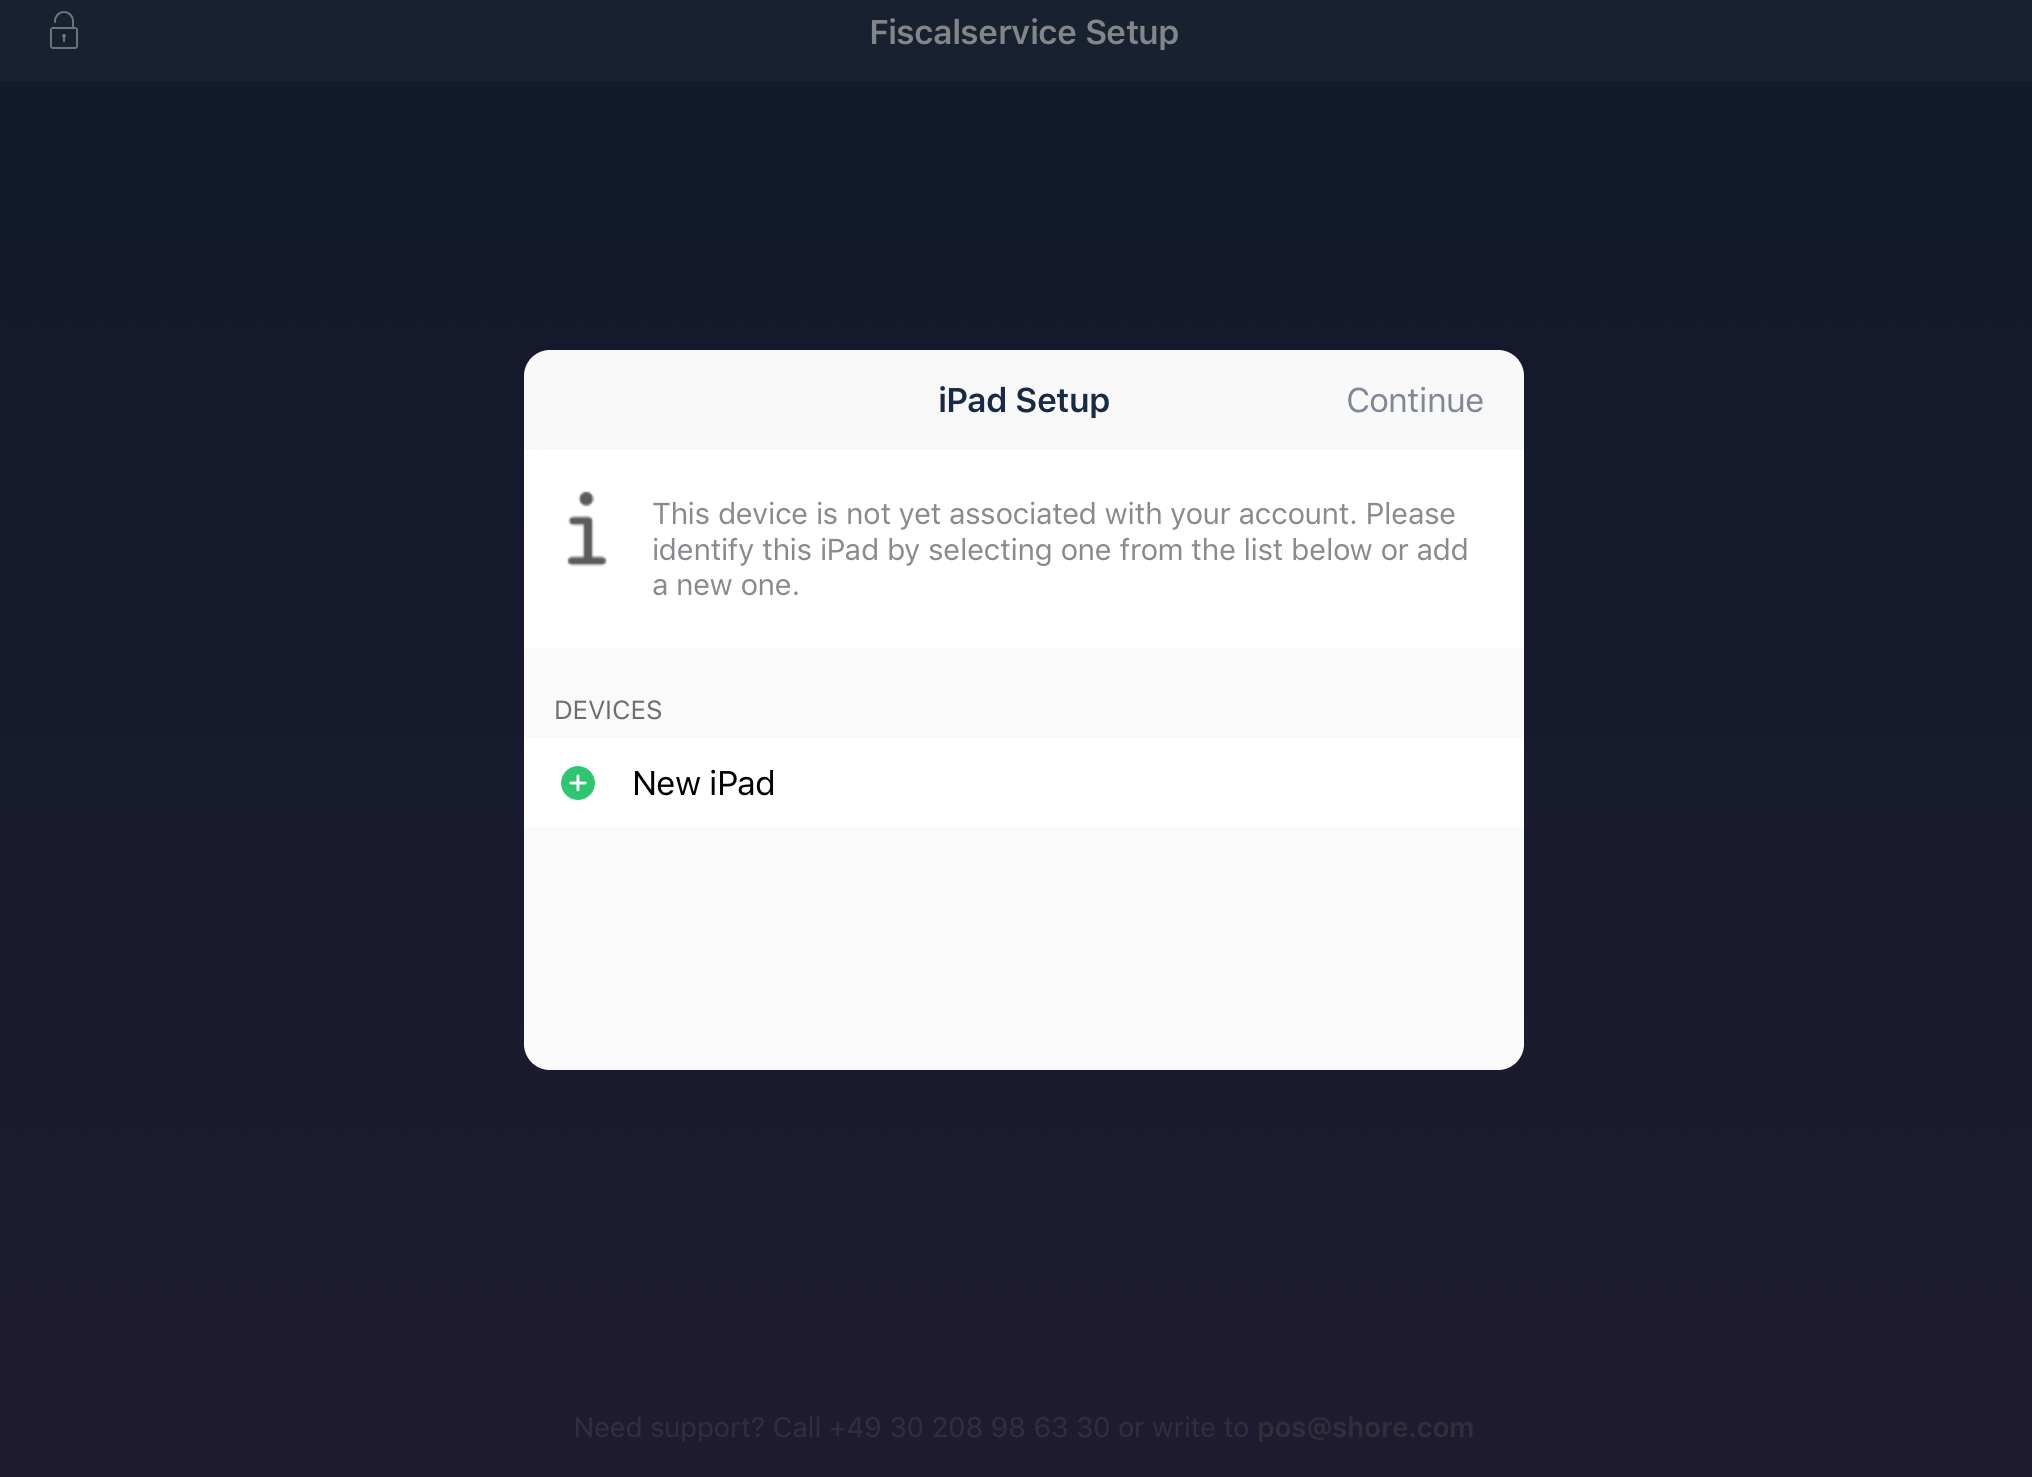
After logging in with your PIN, you will be prompted to name your device. If it's not already on the list tap "New iPad" and enter a unique name. Each iPad name must be unique to your account. This is important because this iPad will be connected to a TSS afterwards and will only work with one TSSE.
Only one TSS can be associated with an iPad at a time.
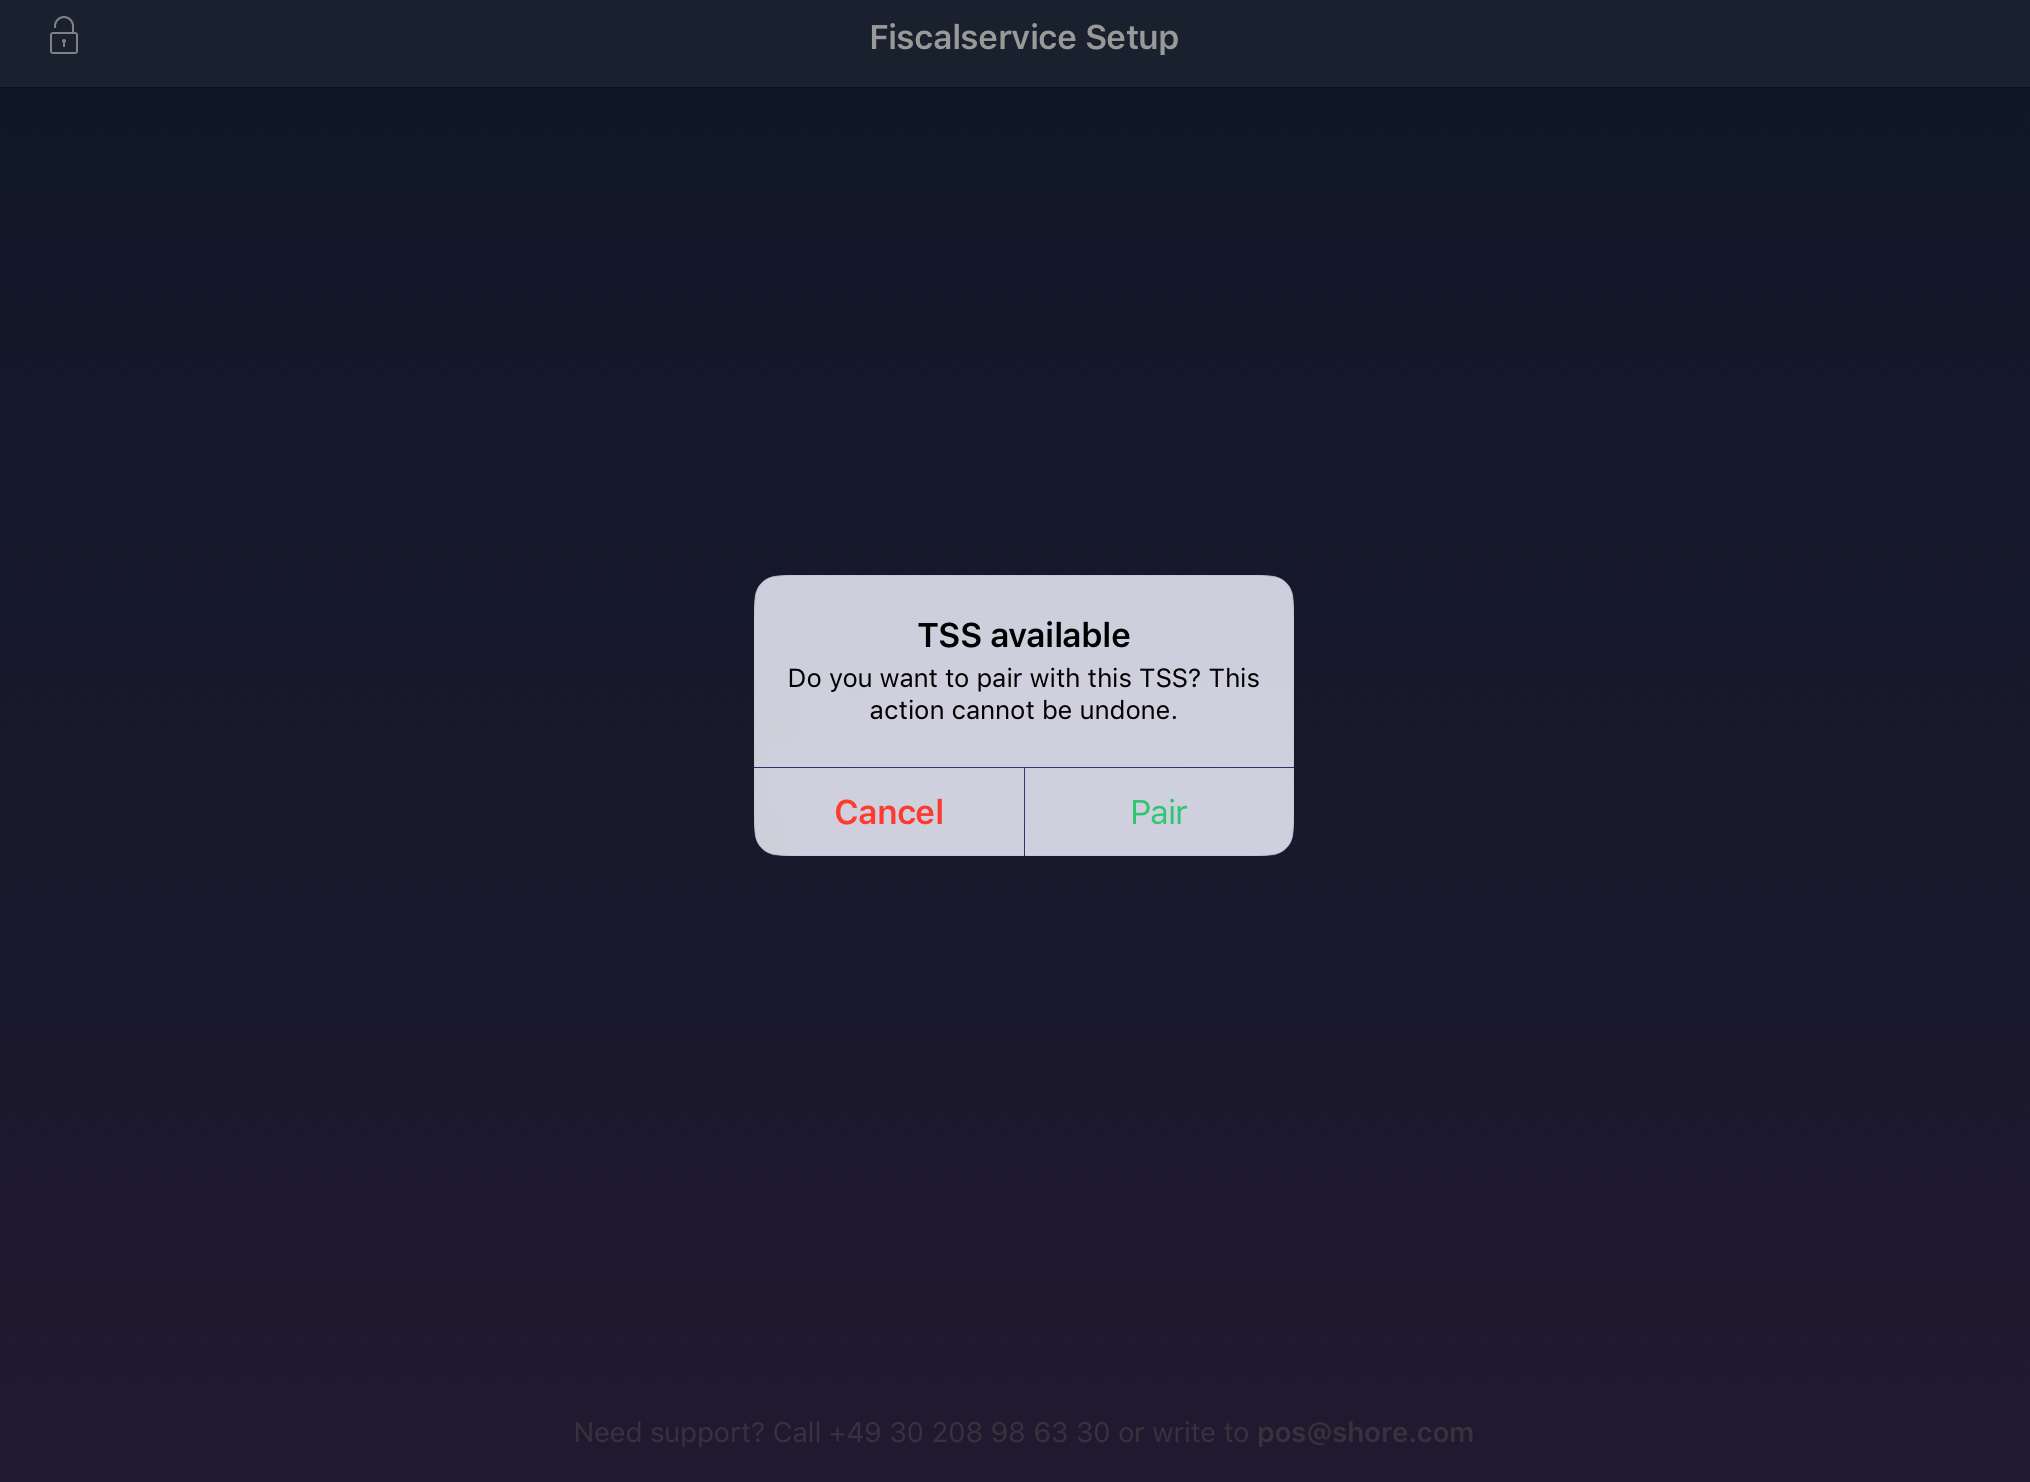
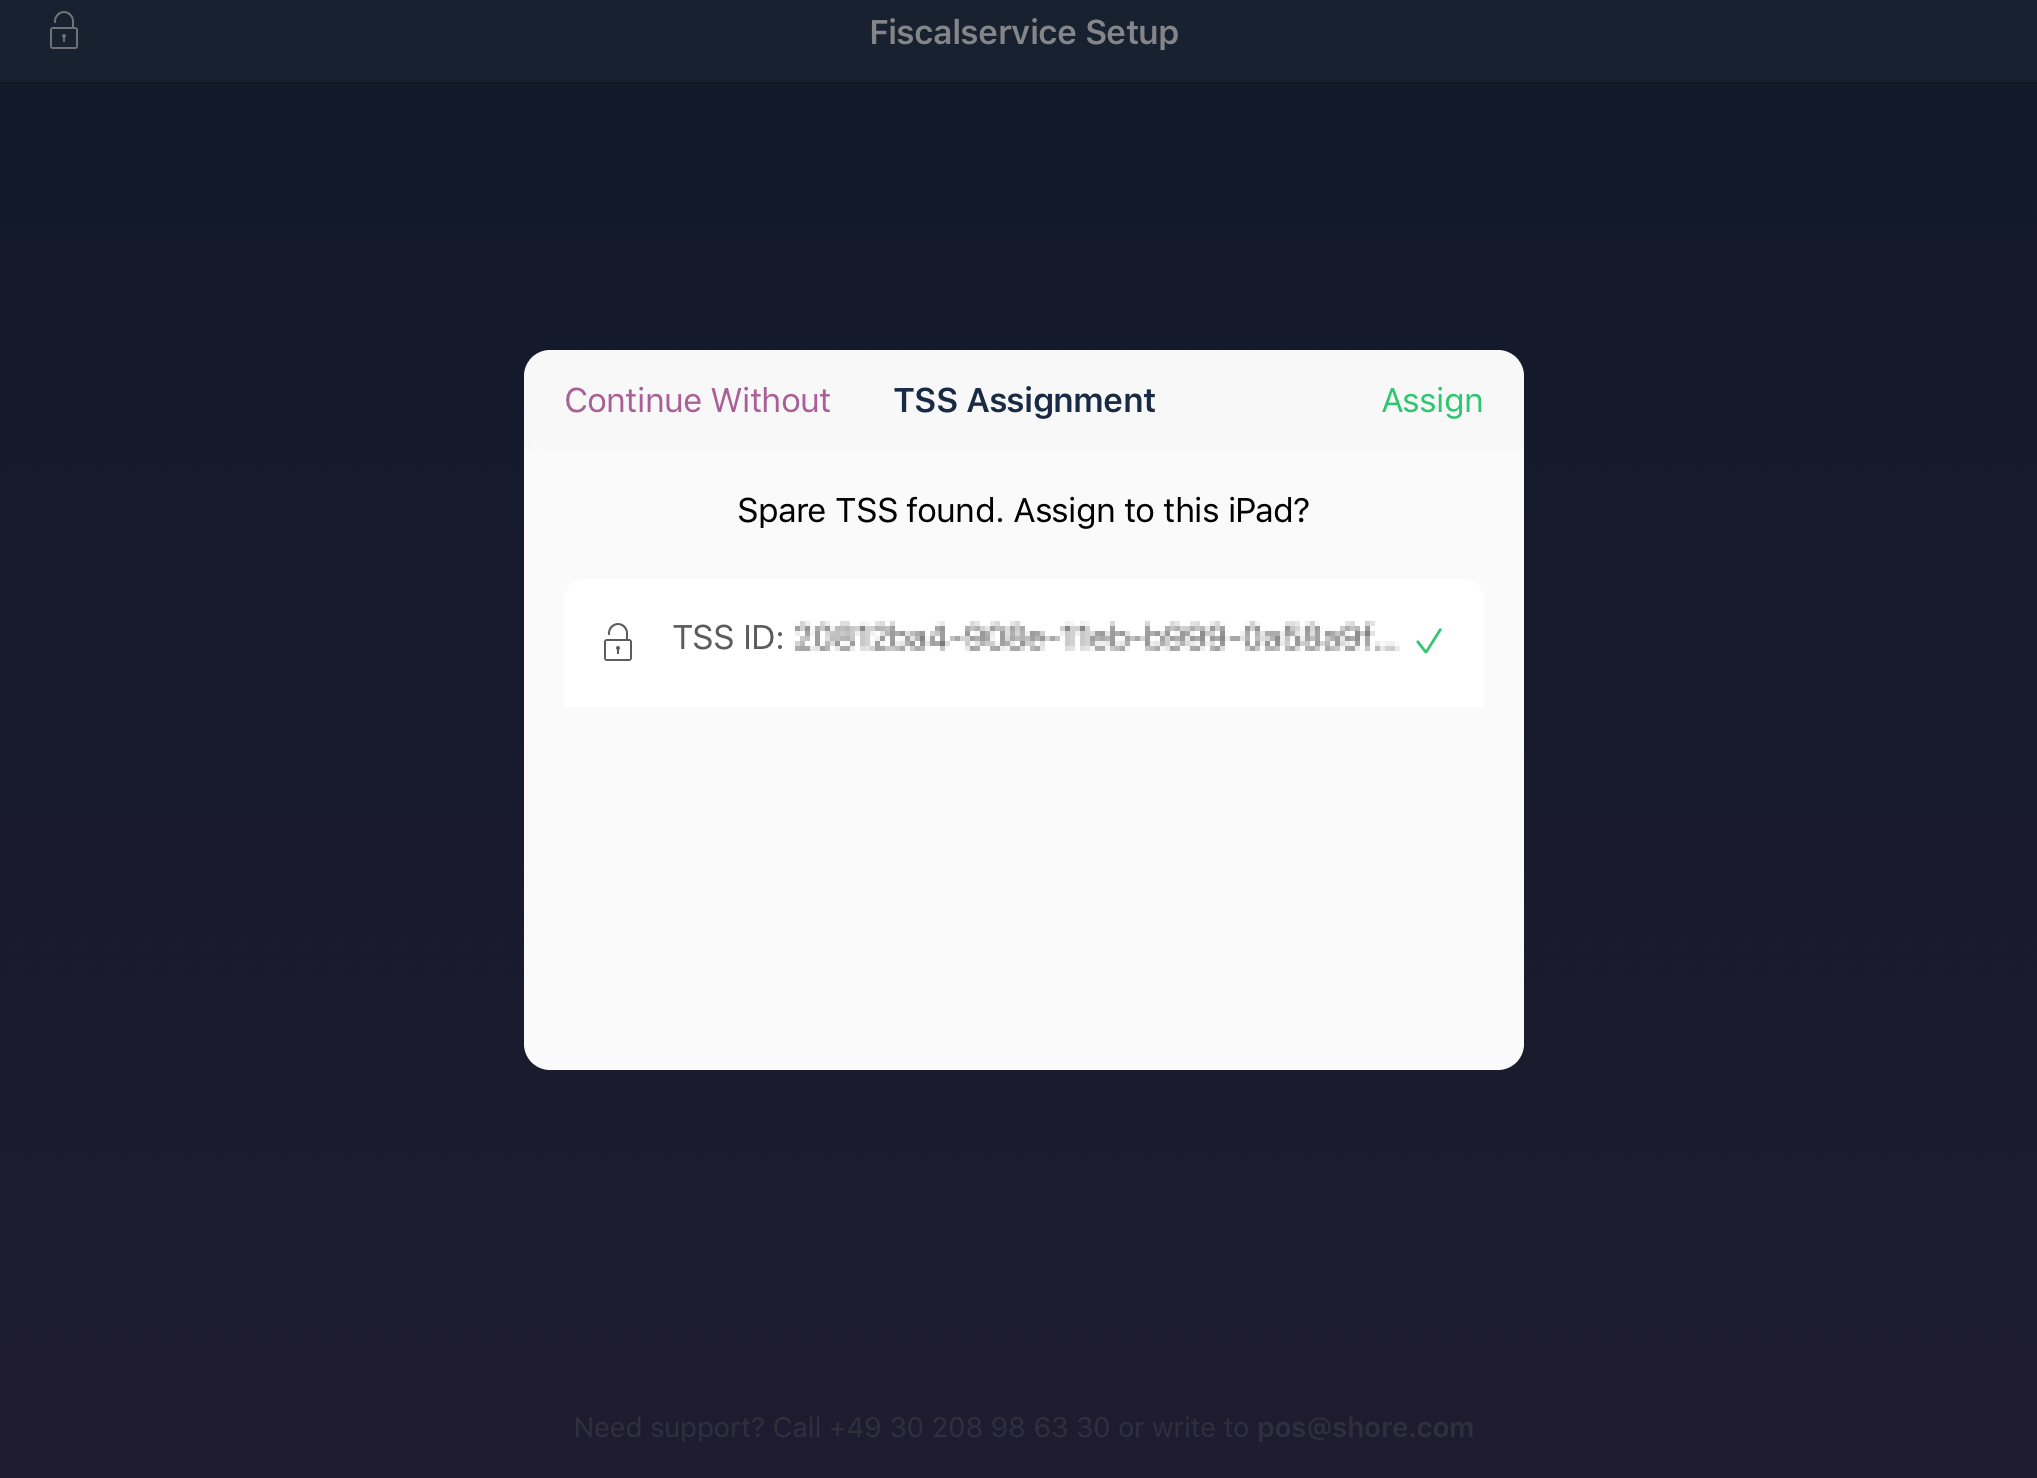
After you give your iPad a name, the app will automatically search for a free TSS. Tap the Assign button to associate a TSS with your device. Then click Next.
If you do not have an available TSSE, you will be asked to switch to the POS Manager. There you can either buy additional TSS in the assistant (see above) or via the Cloud TSS tab, which you can then connect to additional iPads.
Note: Only one TSE can be connected to an iPad at a time.
4. Activate the signature service to create invoices with signature
Once the signature service is activated, all business transactions will have a signature.
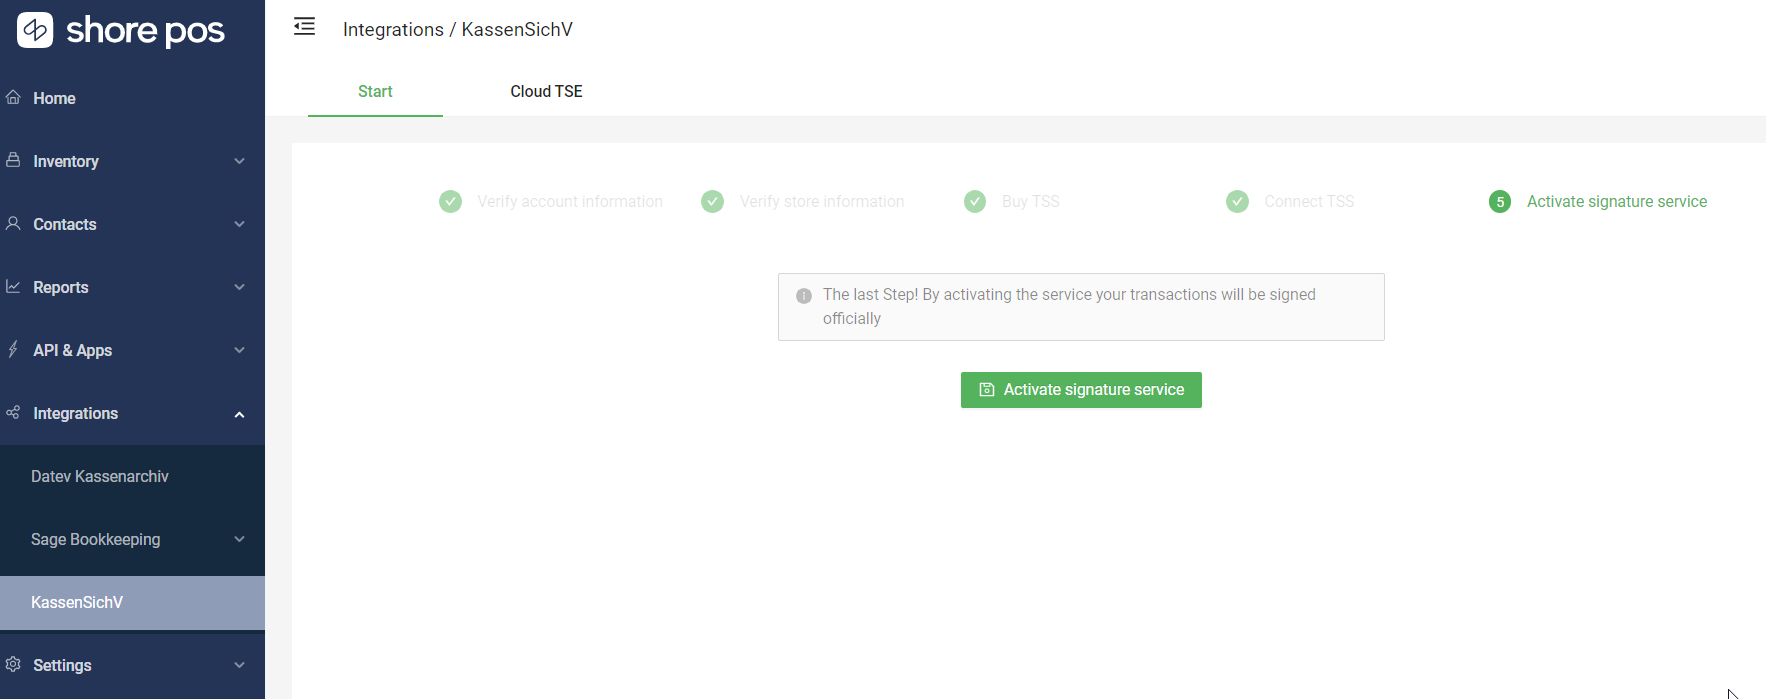
To activate the signature service open the POS Manager.
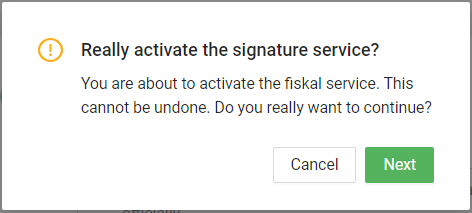
Click on Activate signature service. You will be informed that this step is irreversible. This means that test invoices cannot be deleted. These invoices can only be corrected.
Click Next to confirm the process.
You will then see a confirmation that the TSS has been activated.
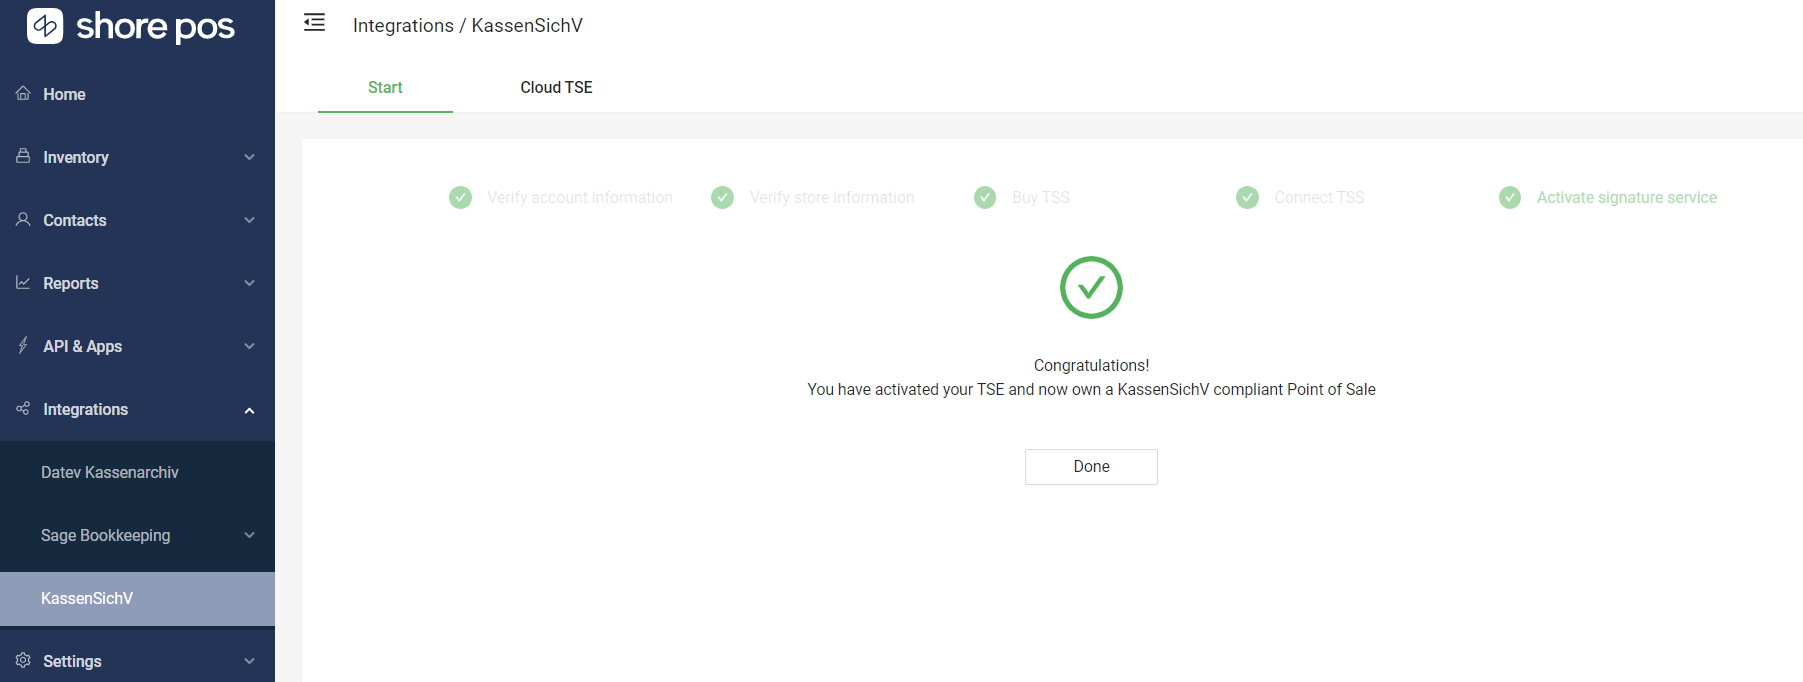
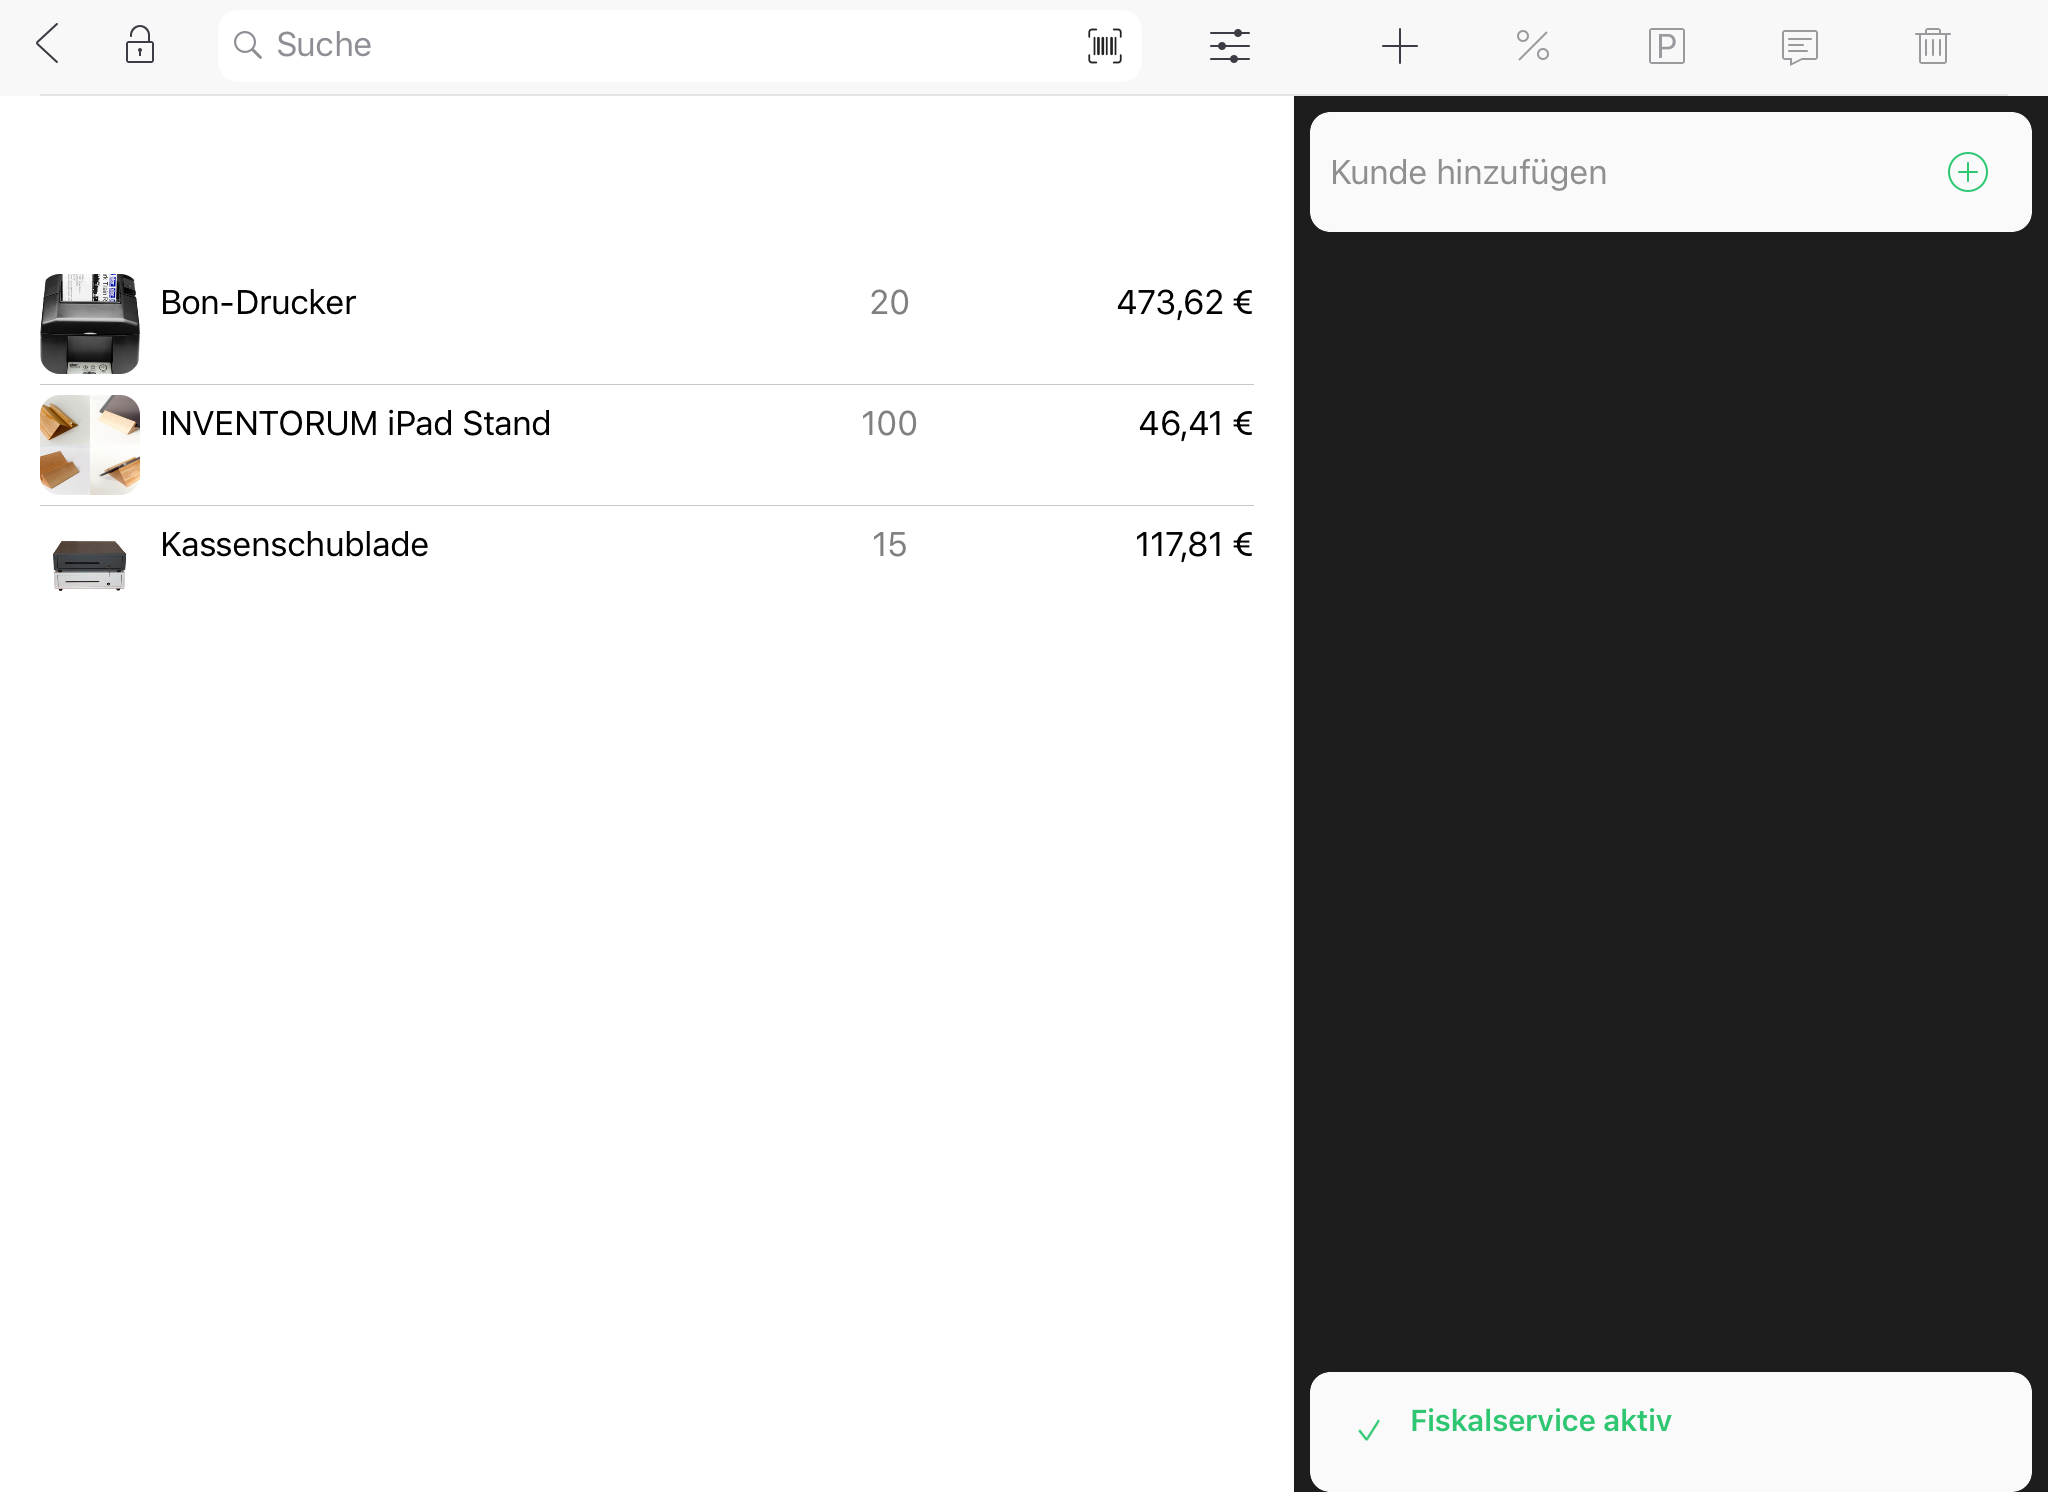
In the Shore POS app you can see that the service is active when a green bar Fiscal service active appears in the bottom right of the POS menu.