Prerequisites
In order to set up a redirection to a Thank You page, you will need:
- a Google Tag Manager account
- a Thank You page of your own
The thank you page allows you to track successful bookings in the look and feel of your website. But above all, you can insert any kind of conversion pixel here (such as the Facebook pixel).
Important update!
We have provided a Google Tag Manager template for Shore that you can download. All tags are already ready for use. Please visit Google Tag Manager Tracking Template for Shore.
Important:
The redirection script to the thank you page is available in our GTM tracking template.
Please visit this page for a full explanation on how to import and configure the Shore tracking template
All the elements to manage the redirection to the Thank You page and the Facebook purchase events are pre-installed. You only need to customize your Thank You page url and your Facebook pixel ID. Please read carefully the description below.
Steps in Google Tag Manager
1. Customize your Facebook pixel and Thank you page
After you install the Shore Tracking template, you need to customize the following elements:
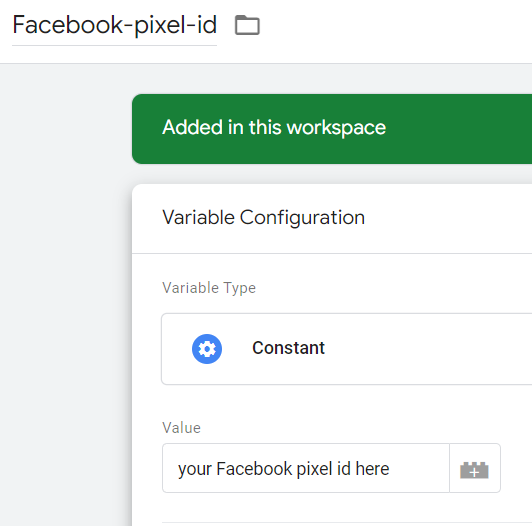
Variable: Facebook-pixel-id
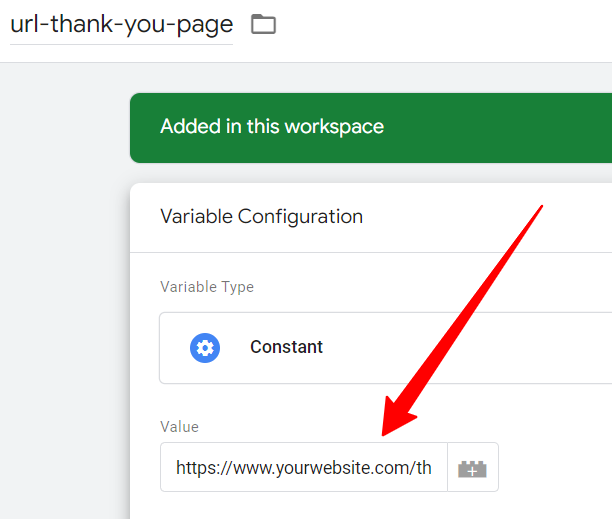
Variable: url-thank-you-page

Please avoid query parameters in the url.
Only use a raw url without query parameters like &, "=", "?"
Trigger: Thank You page

Use a unique part of your thank you page url.
ex. if the file name is "/thank-you" use a trigger: Page URL contains "/thank-you"

2. Activate the Redirect tag
The tag "Facebook Thank-You page redirect" that allows to redirect to your own thank you page is paused by default.
You need to activate it so the redirection is effective.
