How can I create and manage my customer groups?
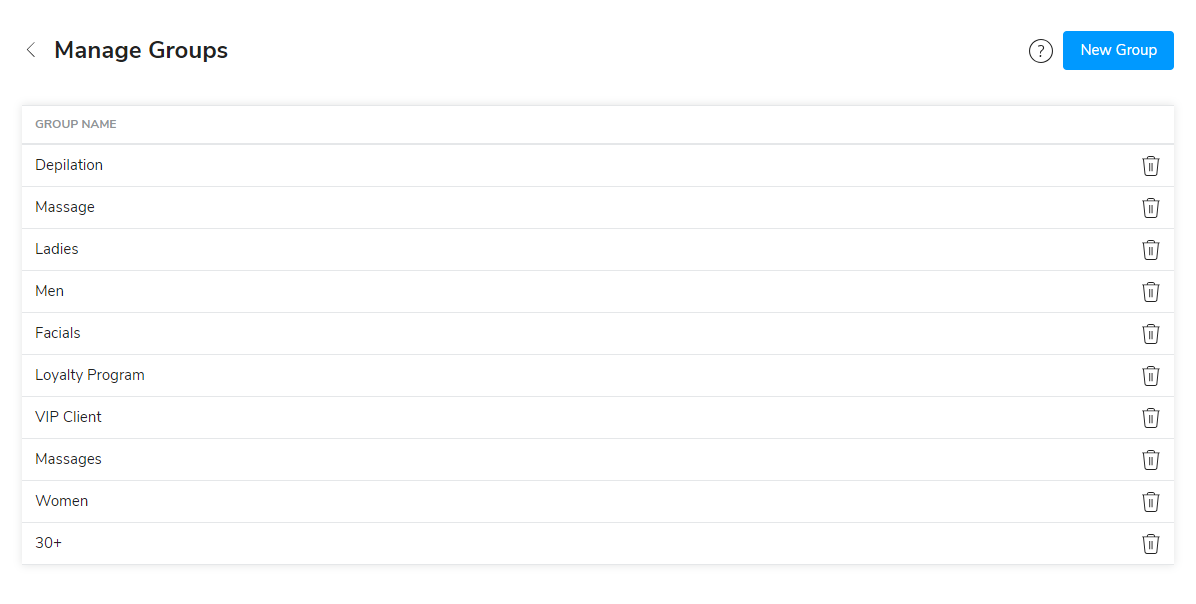
In your customer database, you can view, create, and delete customer groups in a single overview. This way, you can keep track of all existing groups, avoid duplicates and easily create the right groups for your marketing activities.
How do I create customer groups?
There are two ways how you can add customer groups:
1. In the customer group overview
Open the main menu and click on Customers. Then click on Manage Groups at the top of your customer list.

Create additional groups by clicking New Group. Delete groups by clicking the trash bin.
2. Directly in the customer profile
Open the navigation and click on Customers. Then click on the customer you want to assign to a group and go to the Groups section below the main information.
• If you want to add the customer to an existing group, select the desired group from the drop-down menu that opens once you click in the text field.
• If you want to create a new group, enter the desired name in the text field and click on the + that appears next to the name in the drop-down menu below.
How can I manage my customer groups?
Open the main menu and click on Customers. Click on Manage Groups at the top of your customer list.

Create additional groups by clicking New Group. Delete groups by clicking the trash bin.