In this article, you'll learn how to enter appointments in your Shore calendar. To get started, just click on the desired time in your calendar to open the appointment window.
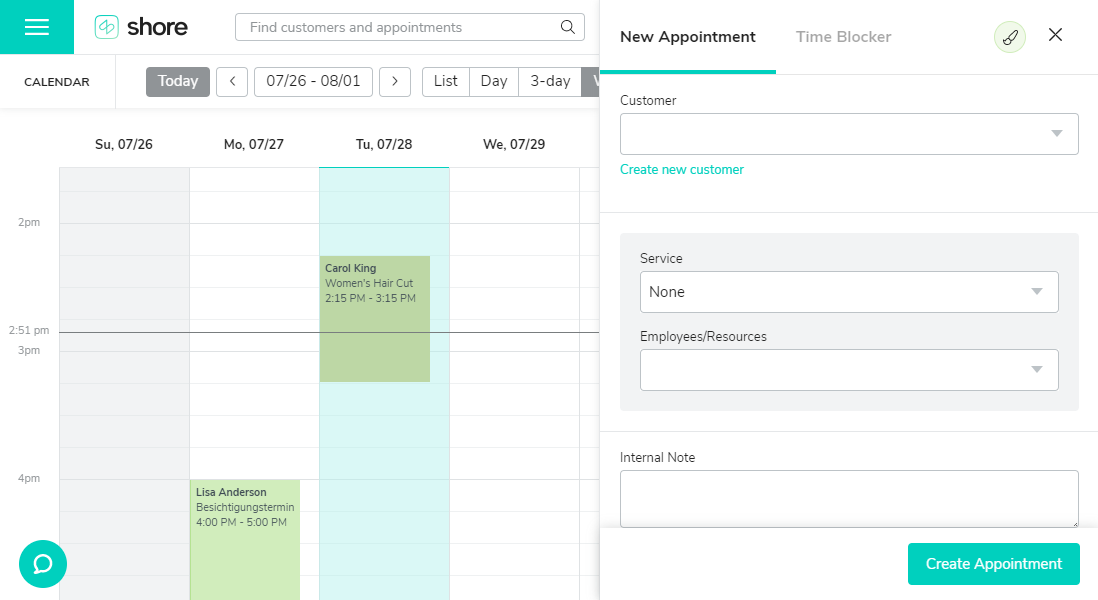
Note: This article describes the normal appointment creation process. Click here to learn about the quick appointment creation.
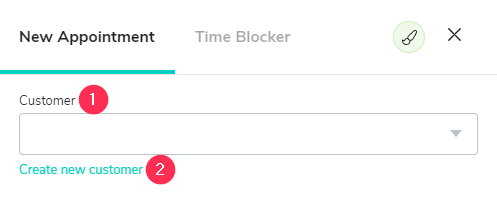
Step 1: Select a customer or create a new customer profile
- Start typing the name of the customer in the text field. If there is a matching entry in the database, you can select the name from the dropdown menu.
- If the customer hasn’t been added to the database yet, click on + Create new customer.
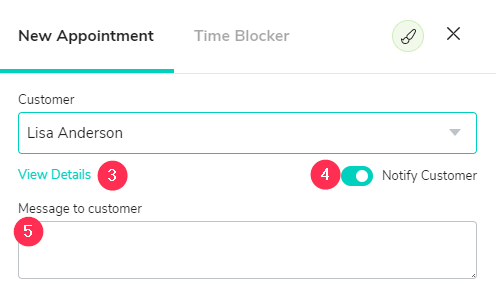
- Once you’ve selected a customer, you can always open the customer profile in a separate window by clicking on View Details. This way you can add or update information, notes or even customer groups while you create the appointment.
- If you have stored the customer's email address, you can send an automated appointment confirmation. Disable the option if you don't want to send a notification.
- If you want, you can add a personal message to the email confirmation.
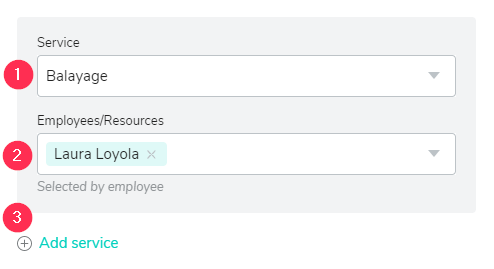
Step 2: Enter a service and employee
- Select the desired service.
- Under "Employees/Resources", you can select the employee in charge of the appointment. If you use "resources" such as rooms or tables that will be blocked by the appointment, enter these here as well. This is especially important if the combination of employees and rooms is enabled.
- Click on Add service to add another service to the appointment.
Pro tip: Use the "Internal note" field to add a note which will not be communicated to your customers.
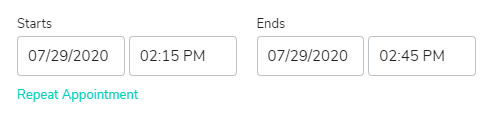
Edit the start and end time
The duration of the appointment is calculated automatically based on the duration of the service. If you only added one service, you can adapt the duration manually. Click on Repeat appointment to create a recurring appointment.
Learn more about recurring appointments
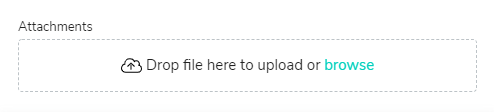
Step 4: Add attachments (optional)
If necessary, you can add up to 5 attachments with a maximum size of 5MB each to your appointment. Valid file formats are JPG, PNG, and PDF.
Important: These files will only be stored in the appointment. To store the files in the respective customer profile, click on View Details below the customer’s name and upload them in the "Attachments" section of the customer profile.
Step 5: Create the appointment
Click on Create Appointment to save the appointment in your calendar.