In this article you will learn how to create customers and what information is visible in the customer profiles.
Create customers
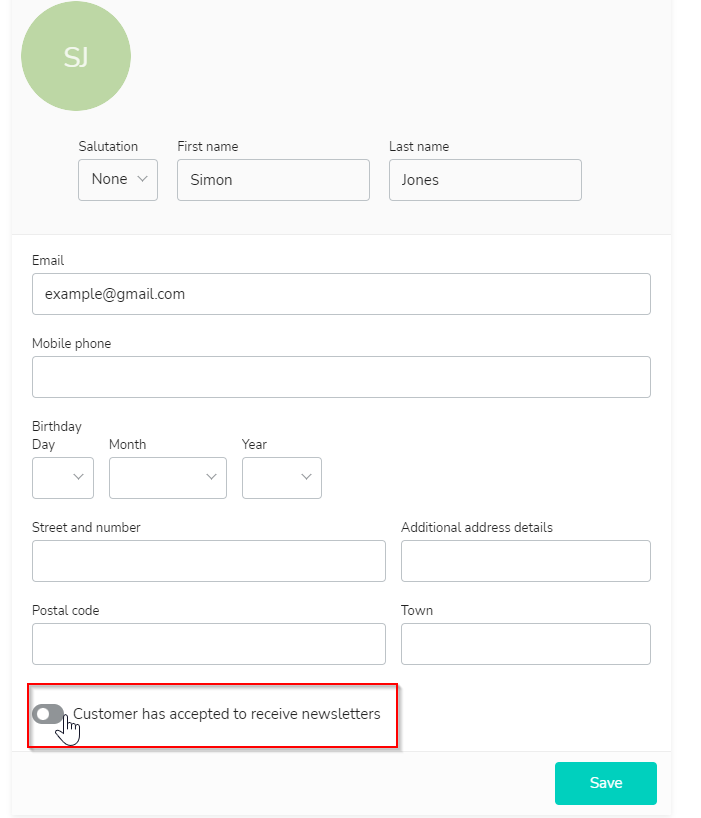
You can create a customer under the item New customer in your Shore calendar and enter general information such as name, email, address, birthday and telephone number. You also have the option of selecting whether the customer has agreed to receive messages from you.
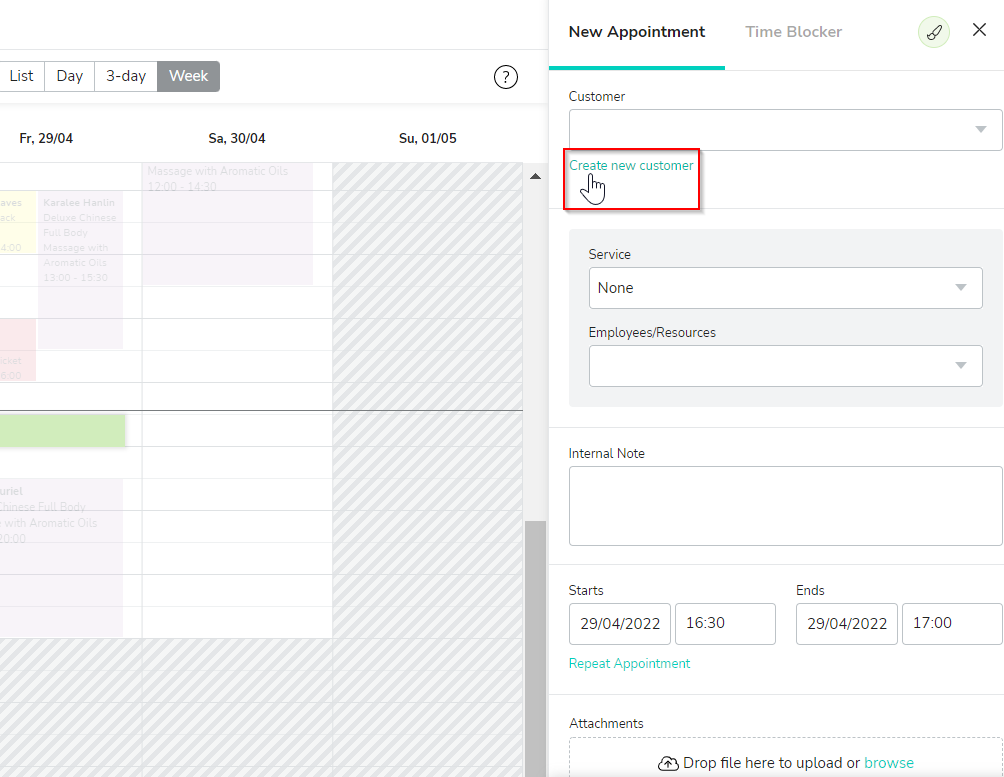
Furthermore, you also have the possibility to create a new customer directly when you create a new appointment in the calendar.
Note: If you are a new customer and you have a digital customer list, you can send it to us in the correct format and we will import your customer list. Click here to go to the article for more information.
Customer profile
In the customer profile, you then have the option of adding or viewing further information about the customer.
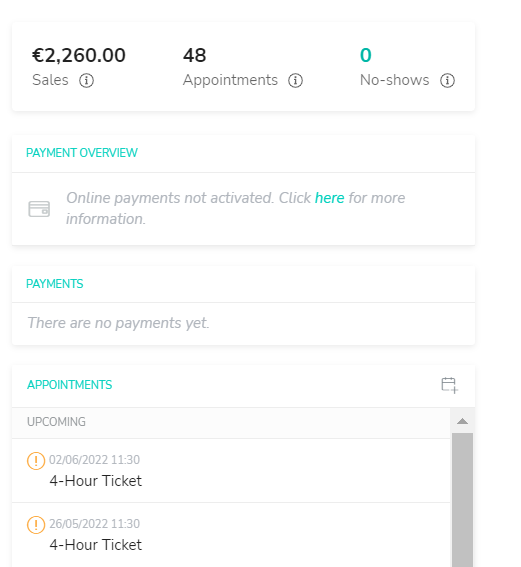
For example, you can see how many appointments a customer has already had, which services they have booked and how much turnover the customer has generated.
In addition, you have the possibility to assign your customer to a certain customer group.
Add more information to the customer profile
In the customer profile you can also create or view notes on the customer. Click here for the article with more information.
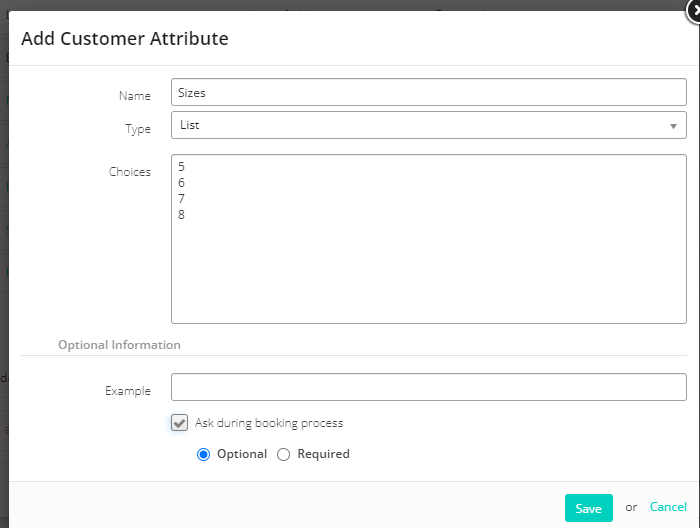
Under the item Customer attributes in your Shore calendar you have two options. Firstly, you can define the contact form that is requested in the booking.
You also have the option of creating customer attributes in the customer profile that you consider important. To do this, simply create a new customer attribute and do not tick the checkbox Ask during booking process. Then click on Save and your newly created customer attribute will now appear in the customer profiles.